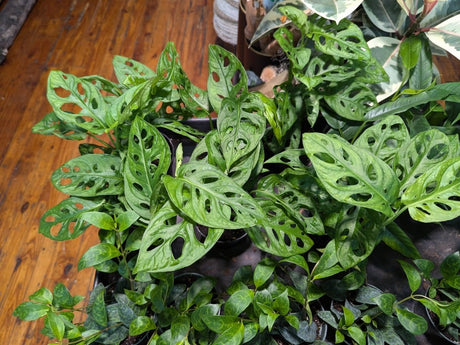
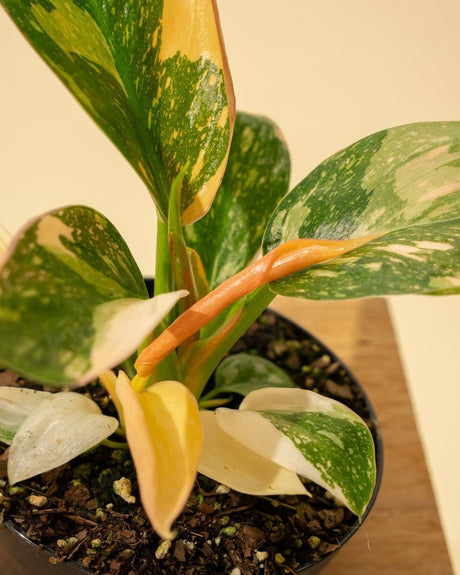
So you’ve had your new plant for a couple weeks now, it seems to be doing well in your space and you’d like to move it into a pot that matches your perfectly curated aesthetic? It’s time to get dirty!
Selecting the Right Pot
These days pots come in shapes, colors, materials and finishes to match any decor. We find that classic clay or terra cotta pots are best for plants that like to dry out faster and ceramic or plastic are best for moisture-loving plants like ferns and calathea. Either way, we always make sure the pot has at least one good drainage hole for any excess water. There are ways to create drainage layers in containers without holes, but this can be tricky especially for new plant parents. We also recommend choosing a pot that’s only one size up from whatever the plant is currently in. This generally means 1-2” bigger

Prepare
We find that it’s helpful to portion out the soil you think you’ll need and pre-moisten it a bit to make it easier to work with. This is especially the case if you make your own soil mixes. Make sure you’re wearing something and in a place that you don’t mind getting dirty and get your pot, soil, water mix and tools laid out

De-potting Your Plant
If you bought your plant from us (or from most nurseries and plant shops) it arrived in a ‘nursery pot’. These are made of thin plastic with plenty of drainage holes in the bottom to help keep the roots healthy. They’re also designed to make taking plants out of them easy! Give the sides a good squeeze to loosen the soil and begin to gently tug at the base of the plant. It should come loose fairly easily but if you run into trouble don’t be afraid to give the plant a little wiggle- it can usually take it. If the root system is really stubborn and the plant doesn't want to come loose from the nursery pot, use a strong pair of scissors to cut sections of the plastic nursery pot away, loosening the plant from the stuck pot.

Time for a Check-Up

Once the plant is free from the pot check those roots! You may find that the plant is ‘root bound’. This is when the roots are running out of room and begin to grow around the perimeter of the pot. In this case you’ll want to free up those roots so they can take full advantage of their new home and fresh soil. Bound roots can get really difficult to untangle, but keep at it and don’t be worried if you break some in the process.
Repotting Your Plant
Line the bottom of your new pot with some of that pre moistened soil mix you prepared earlier. While holding the plant in the pot with one hand, begin to fill in with soil around the roots. Eventually you’ll have added enough soil that the plant is able to start holding itself up. We find that gently shaking the pot as we go helps to tamp down the soil enough to secure the plant, but not so much that water can’t flow through. Continue this until the roots are covered and the pot is full!

Water and Let Live
Give your plant a good drink over a saucer or basin. You may find that you need to add a bit more soil to the top and sides of the pot as the soil settles. Make sure water drains out of the bottom of the pot and place your newly repotted plant in a brightly lit and well ventilated location. Watch your plant settle into it's new home over the coming days and try not to fuss over it too much as it acclimates to it's new home. Enjoy the life your plant brings into your home and keep on growing!