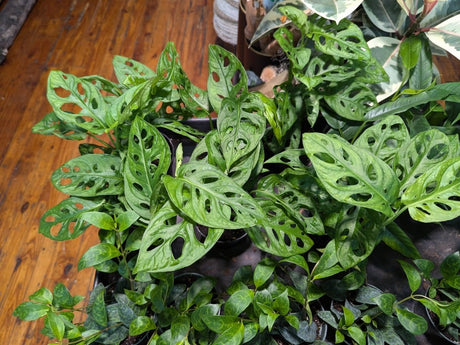
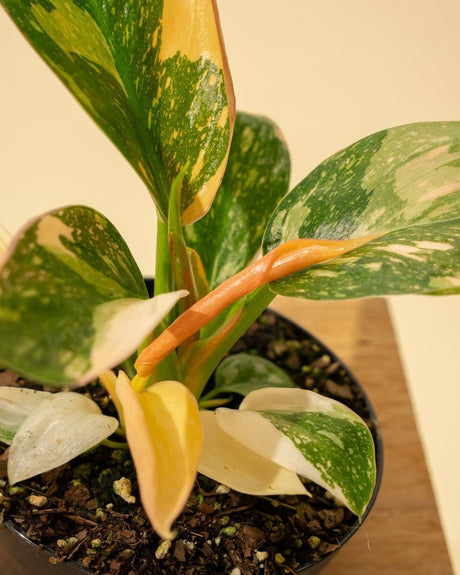
There’s nothing quite like the excitement of a fresh plant delivery to your doorstep. Whether you’ve ordered a dramatic Raven ZZ plant, a playful Lizard Queen Pothos, or a classic Swiss Cheese Plant, your new houseplants have traveled miles to join your indoor jungle. Follow this step‑by‑step guide to master the plant unboxing process, minimize stress on your green friends, and set them up for long‑term success.
Why Proper Plant Unboxing Matters for Healthy Houseplants
- Reduce transplant shock: Gentle handling preserves roots and foliage.
- Maintain optimal moisture: Prevent over– or under–watering immediately after delivery.
- Ensure safe acclimation: Gradual adjustment helps plants thrive in your home environment.
Step 1: Prepare Your Unboxing Station
Before you slice open that box, gather your tools and clear a clean, well‑lit surface. For a smooth plant unboxing experience, you’ll need:
- A pair of sharp scissors or pruning shears
- A clean tray or shallow box to catch loose soil
- Soft ties or plant stakes (in case you need to secure stems immediately)
- Your moisture meter for checking soil hydration
Step 2: Gentle Box Opening & First Inspection
Carefully cut the tape—avoid using a utility knife near leaves or pots. Slowly peel back the flaps and remove any packing material. Look for:
- Leaf condition: Check for broken or yellowing leaves.
- Stem health: Ensure no stems are bent or pinched.
- Soil moisture: Insert a toothpick or moisture meter—if the soil is bone dry, plan a gradual rehydrate.

Step 3: Acclimate Before Repotting
Although you might be eager to pot up your new plant pal, resist the urge. Immediate repotting can trigger transplant shock. Instead:
- Leave the plant in its nursery pot inside a decorative cachepot or saucer.
- Place it in the same light conditions you plan to keep it long‑term (bright, indirect light is ideal for most houseplants).
- Give it 5–7 days to adjust before considering a permanent container change.
Step 4: The Watering Waltz
Just like finding the right rhythm on the dance floor, you’ll want to find the perfect watering pace. Follow these plant watering tips:
- Check first: Use a moisture meter or toothpick to test soil—only water when the top 1–2″ is dry.
- Deep soak: If soil is very dry, place the pot in a saucer of water for 10–15 minutes to let roots wick up moisture.
- Drain excess: Always empty saucers to prevent root rot.
Step 5: Find the Perfect Spot
Your new houseplant deserves a stage worthy of its beauty. When selecting a location:
- Match light requirements: Check the product page—shade lovers like Aglaonema thrive in low light, while monsters and pothos prefer bright, indirect light.
- Avoid drafts: Keep plants away from air vents, doors, and drafty windows.
- Rotate weekly: Turn the pot so all sides receive even light, encouraging balanced growth.

Step 6: Establish Your Post‑Delivery Care Routine
Once your plant has settled, create a simple care schedule to keep it happy:
- Water check: Every 7–10 days (adjust based on season and pot size).
- Humidity boost: Mist weekly or group plants on a pebble tray.
- Feed monthly: Apply diluted liquid fertilizer during active growing seasons.
- Pest patrol: Inspect leaves and soil monthly for mealybugs, spider mites, and scale.
Celebrate Your New Green Companions!
Unboxing and caring for new houseplants should feel like a special ceremony. By following these plant delivery tips, you’ll ensure your leafy treasures arrive safe, stress‑free, and ready to flourish in their new home.
Ready to expand your collection? Browse our full range of houseplants and keep the green magic going!